Building my Magic Mirror
Mirror Mirror on the wall, who's the fairest of them all?
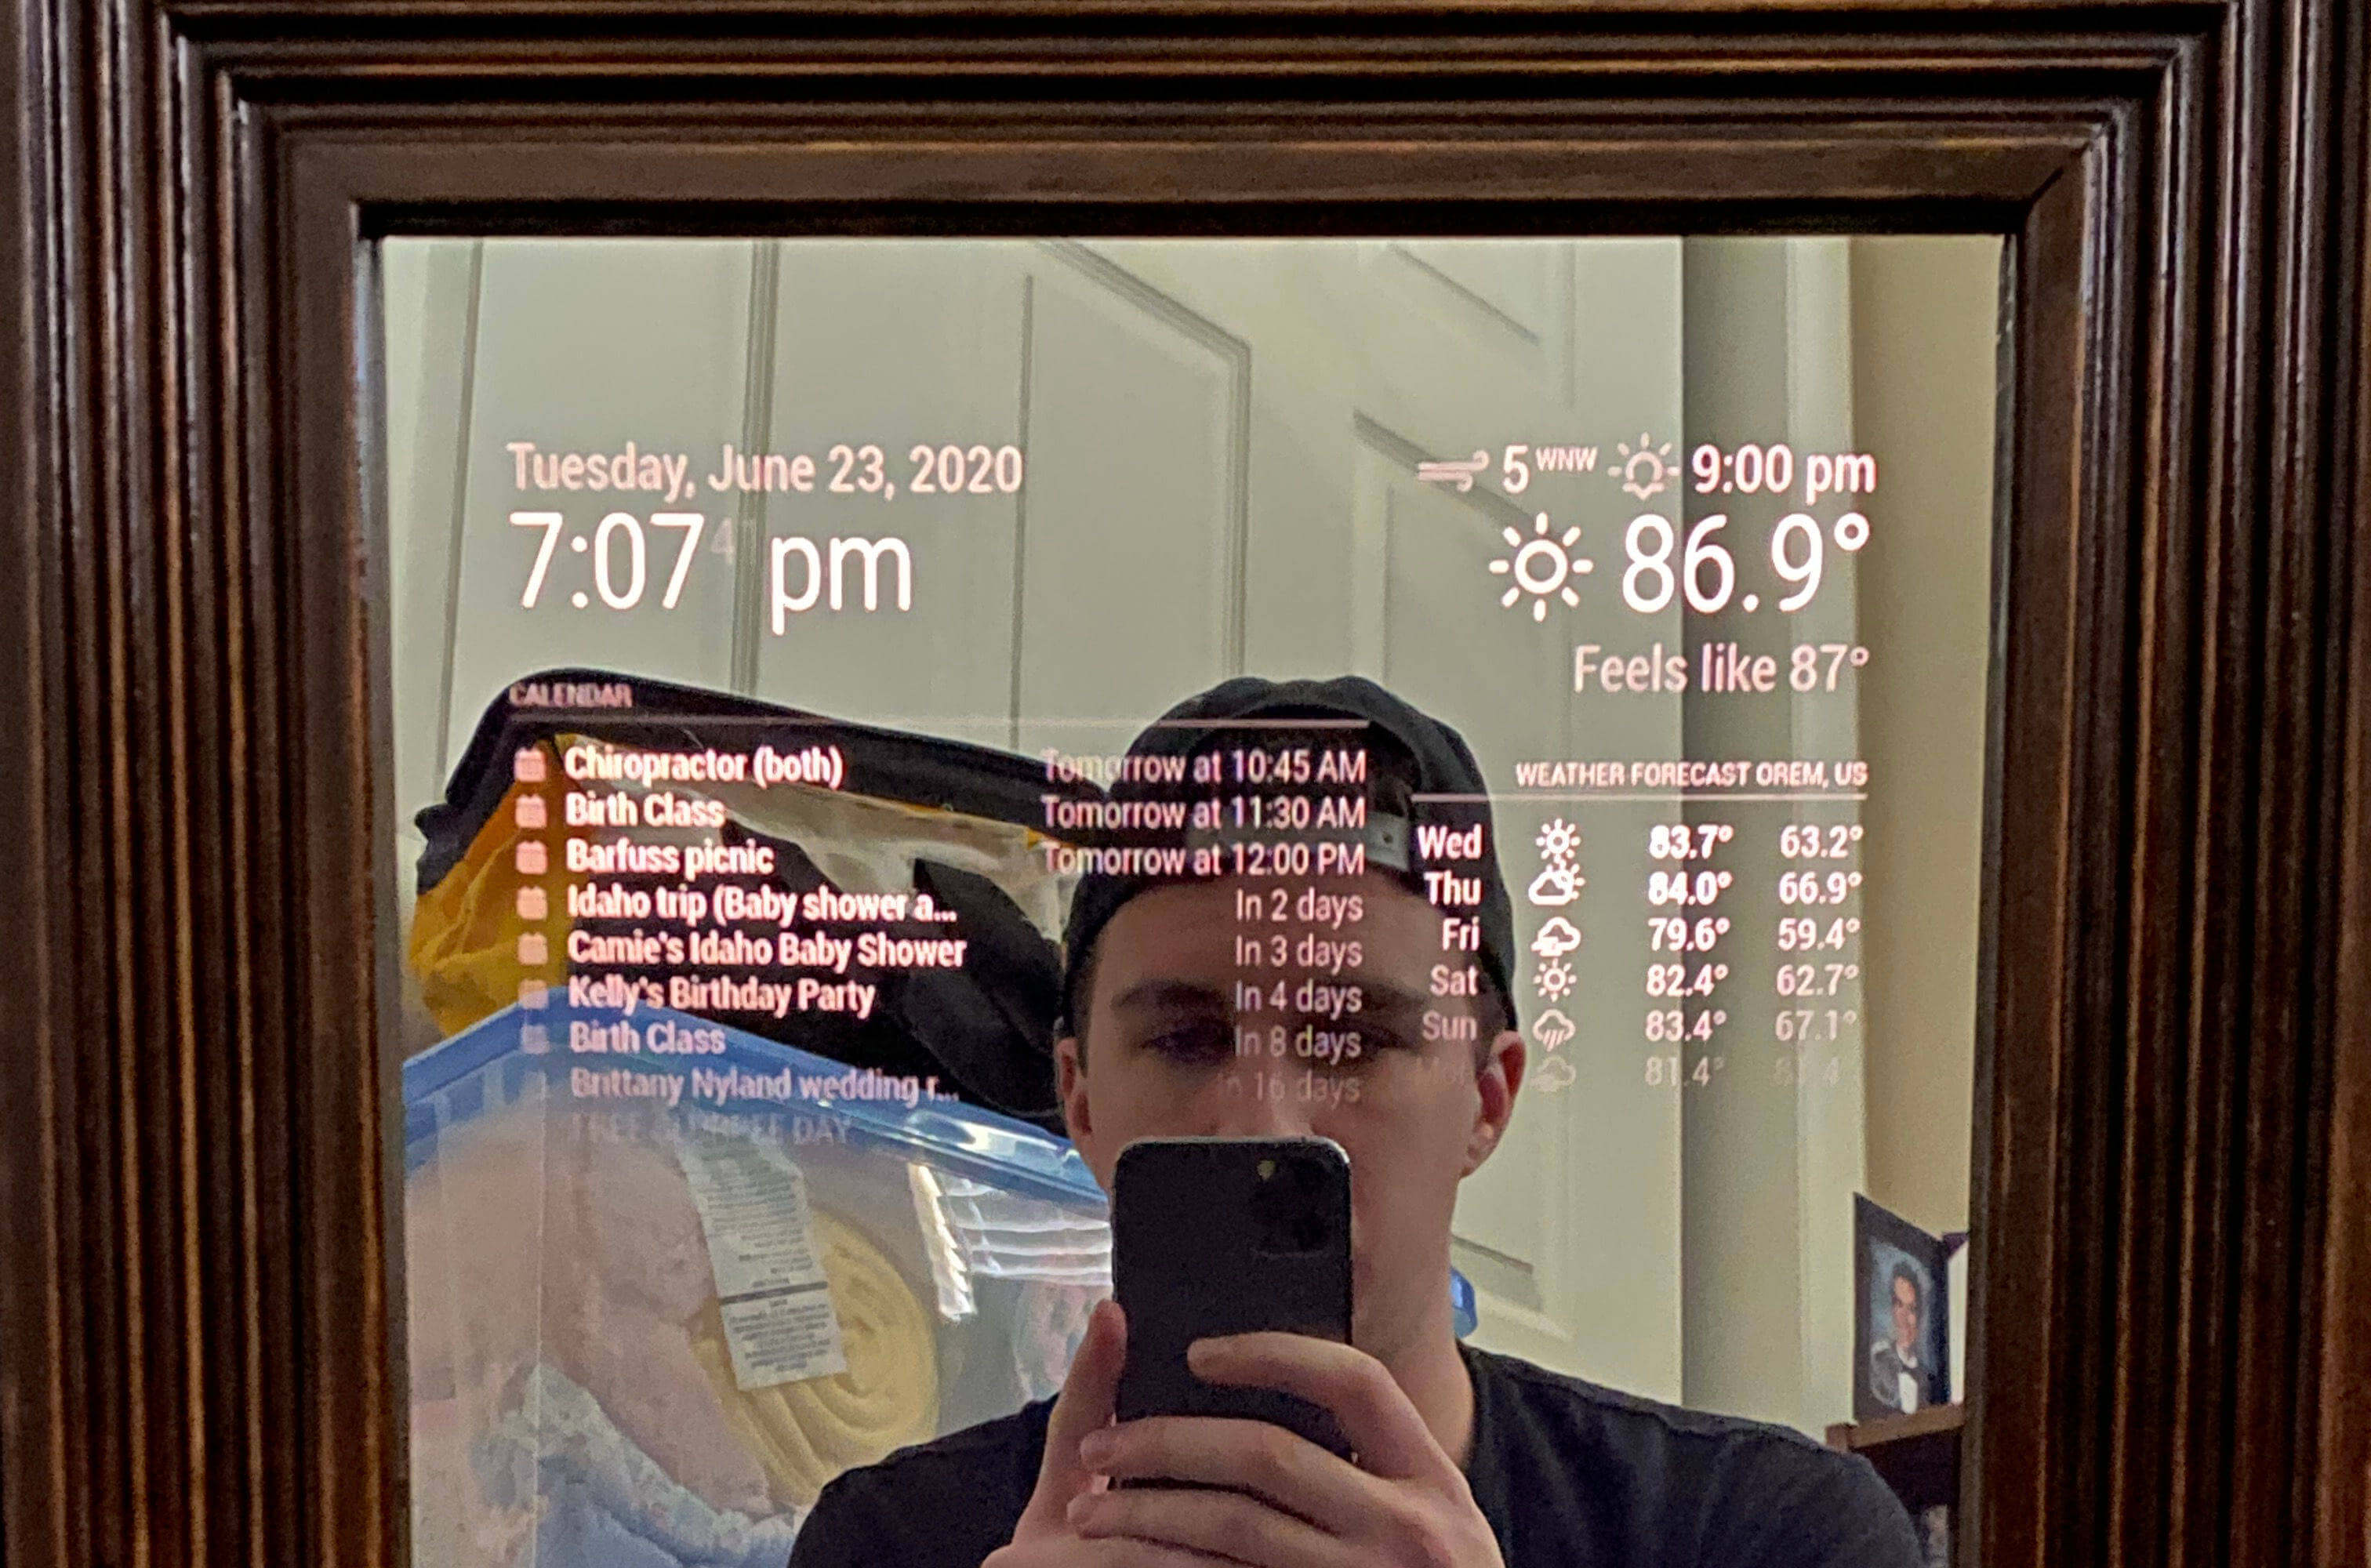
Not too often can fairy tales come true in real life, but seldom, magic truly can happen in the real world. I was recently introduced to the Magic Mirror project and thought "I need one of those." Magic Mirror is a software platform that allows you to display a plethora of items on a screen including the weather, your calendar, news snippets, internet speed, messages, or even play a movie - and typically it's all done via the illusion of a "Magic Mirror" where this screen shines through a two-way glass (mirror) all encapsulated in a box which gives the allusion that your mirror is "magic". I've loved having this on display in my home, visitors love to look at it and try to determine how it works. Here I'll share my journey building the magic mirror.
https://files.justinpaulhammond.com/blog/images/posts/755934425265.png
Supplies
Here are a list of supplies you'll need:
- Computer monitor (you'll be destroying the casing so be prepared to part with it once used)
- Raspberry Pi or other small computer board to control the software
- Wood to craft a frame/box out of
- Power cords for the computer board, monitor, etc
- Two-way glass (mirror) cut to the dimensions of your box
- Wood paint or stain (optional)
Construction Guide
Building this project was really fun because it combined woodworking with electronics and software. A rough idea of how to accomplish this build is to determine how big your mirror will be first. This will depend on the size of monitor you use. You'll then create your frame/box based on the dimensions of your screen and the dimensions you cut your glass to - they should probably match up pretty close. You'll want to ensure that there is a lip of sorts to keep your glass in place on the front side. Once the box is constructed, drop in your glass (mirror side out) and then place your monitor (which at this point should be removed from its plastic casing) on top of the other side of the glass on the inside of your frame. Your frame will need to be deep enough to house all these components and hide them from sight but not too big that your mirror sticks off the wall a great deal. The last step (assuming you've painted or stained your wood if you'd like) is to connect all the inside components. Secure each piece with screws, tap, and braces, plug in all the cables, do cable management, and plug it in. I used a small surge protector/extension cord and placed that inside the case so I'd only have to plug in a single cable for the entire mirror to work. Once that is done, you should be finished with the construction part!
https://files.justinpaulhammond.com/blog/images/posts/626989236948.png
https://files.justinpaulhammond.com/blog/images/posts/626989236948.png
Software Guide
I won't go into too much about the software here as there are other guides for that, but I will say it's incredibly easy to setup and if using Docker, a breeze to deploy. Here is the Docker image I used: https://github.com/bastilimbach/docker-MagicMirror.
The Magic Mirror platform is modular allowing you to customize it to your needs. I set up my Magic Mirror software running on a personal server in my home and then pointed my Raspberry Pi browser to the `IP:Port` where it was running. Finally, I setup my Pi to autostart in Kiosk mode and open the address of the Magic Mirror so it will always display the Magic Mirror. Here is some configuration I used for my Raspberry Pi:
```bash
# Start Magic Mirror
docker-compose up -d
# 1) Open this file
sudo nano /etc/xdg/lxsession/LXDE-pi/autostart
# 2) Add the following to setup kiosk mode on the Raspberry Pi
/usr/bin/chromium-browser --kiosk --check-for-update-interval=1209600 --disable-restore-session-state "192.168.0.100:8080"
# Setup auto-updates and reboot (to get around funky Chrome bug)
# Add the following to the ~/update.sh file:
# To be used on the Magic Mirror Raspberry Pi
# Setup on a cron to run once every other week
sudo apt-get update sudo apt-get upgrade sudo reboot
# Setup cron to update and reboot each week
crontab -e 0 2 * * 1 ~/update.sh
# 4) Enable SSH, disable screen savers, change hostname to magicmirror
# Visit in a browser (must be on the local network): 192.168.0.100:8080
# Connect to Raspberry Pi:
ssh [email protected]
```
Conclusion
In the end, the project probably cost me $80 - glass being the most expensive part. There are always additional costs associated with building something like this such as all the staining supplies I needed for the wood, an SD card for the Raspberry Pi, extra cables I didn't have on hand so be prepared to spend a little extra if you want to make it nice; however, it's such a cool gadget to have around the house. I would highly recommend building something like this because it's not only fun to look at and show off, it was a great learning experience to combine the physical world with the digital world.

Justin Hammond
I love all things tech. I've been programming since the age of 12, repairing iPhones since 16, and founding tech companies since 20. I'm an open source fanatic, Apple fanboy, and love to explore new tech. I spend my time coding open source projects, tinkering with electronics and new tech products, and consulting teams on how to get things done.